 🌏 Interactive Product Tours 🚎
Increase SaaS Product Adoption by 10x or more.
- SeleniumBase Tours utilize 5 JavaScript libraries for creating interactive walkthroughs on any website:
IntroJS, Bootstrap Tour, DriverJS, Shepherd, and Hopscotch.
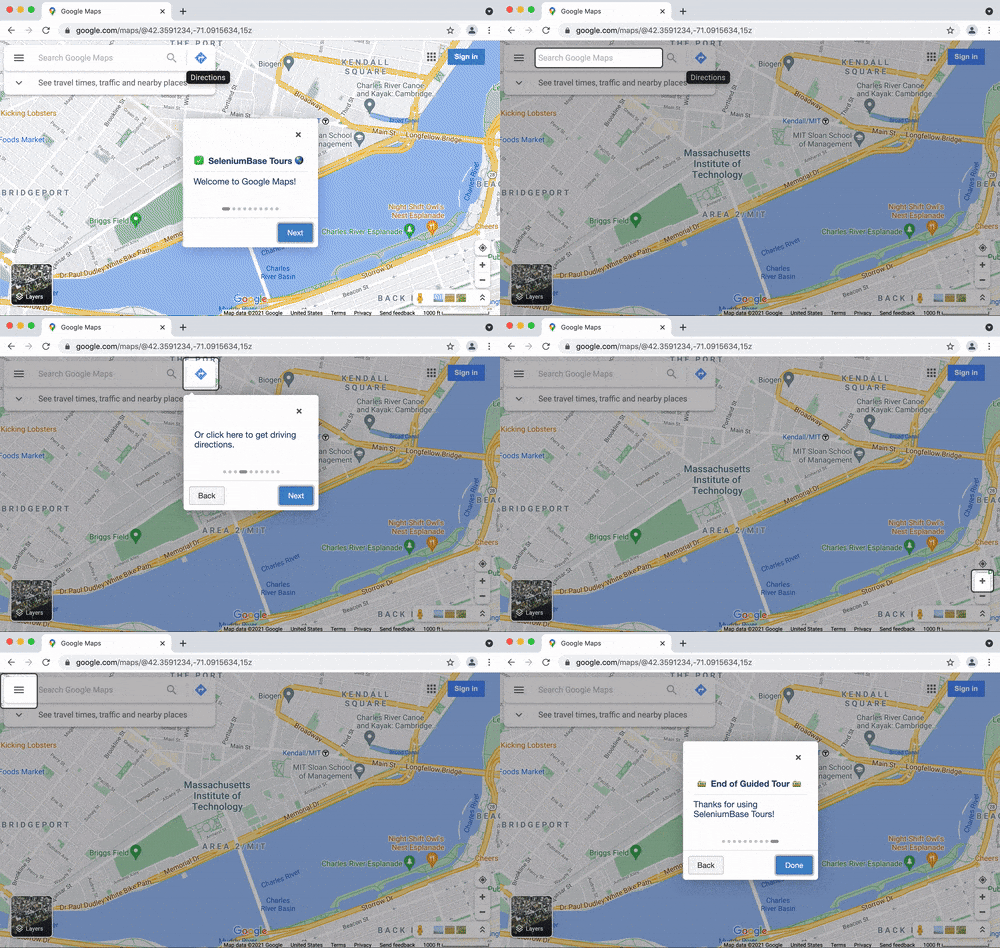
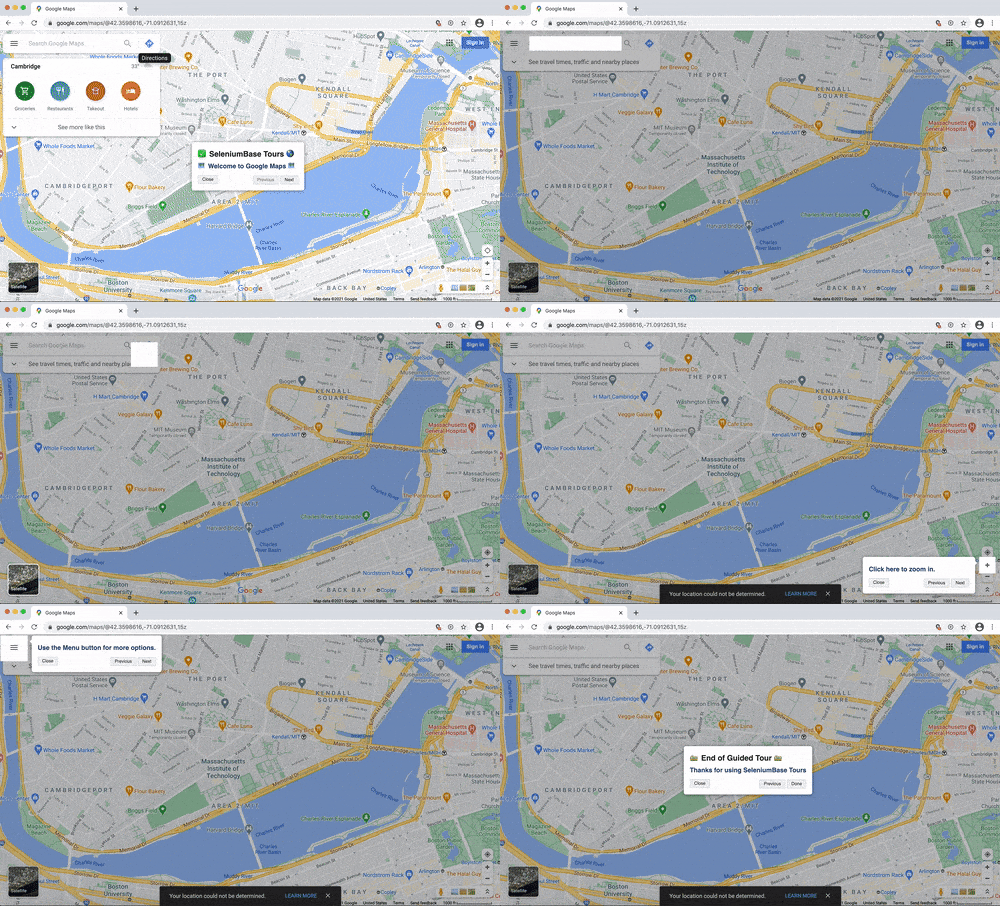
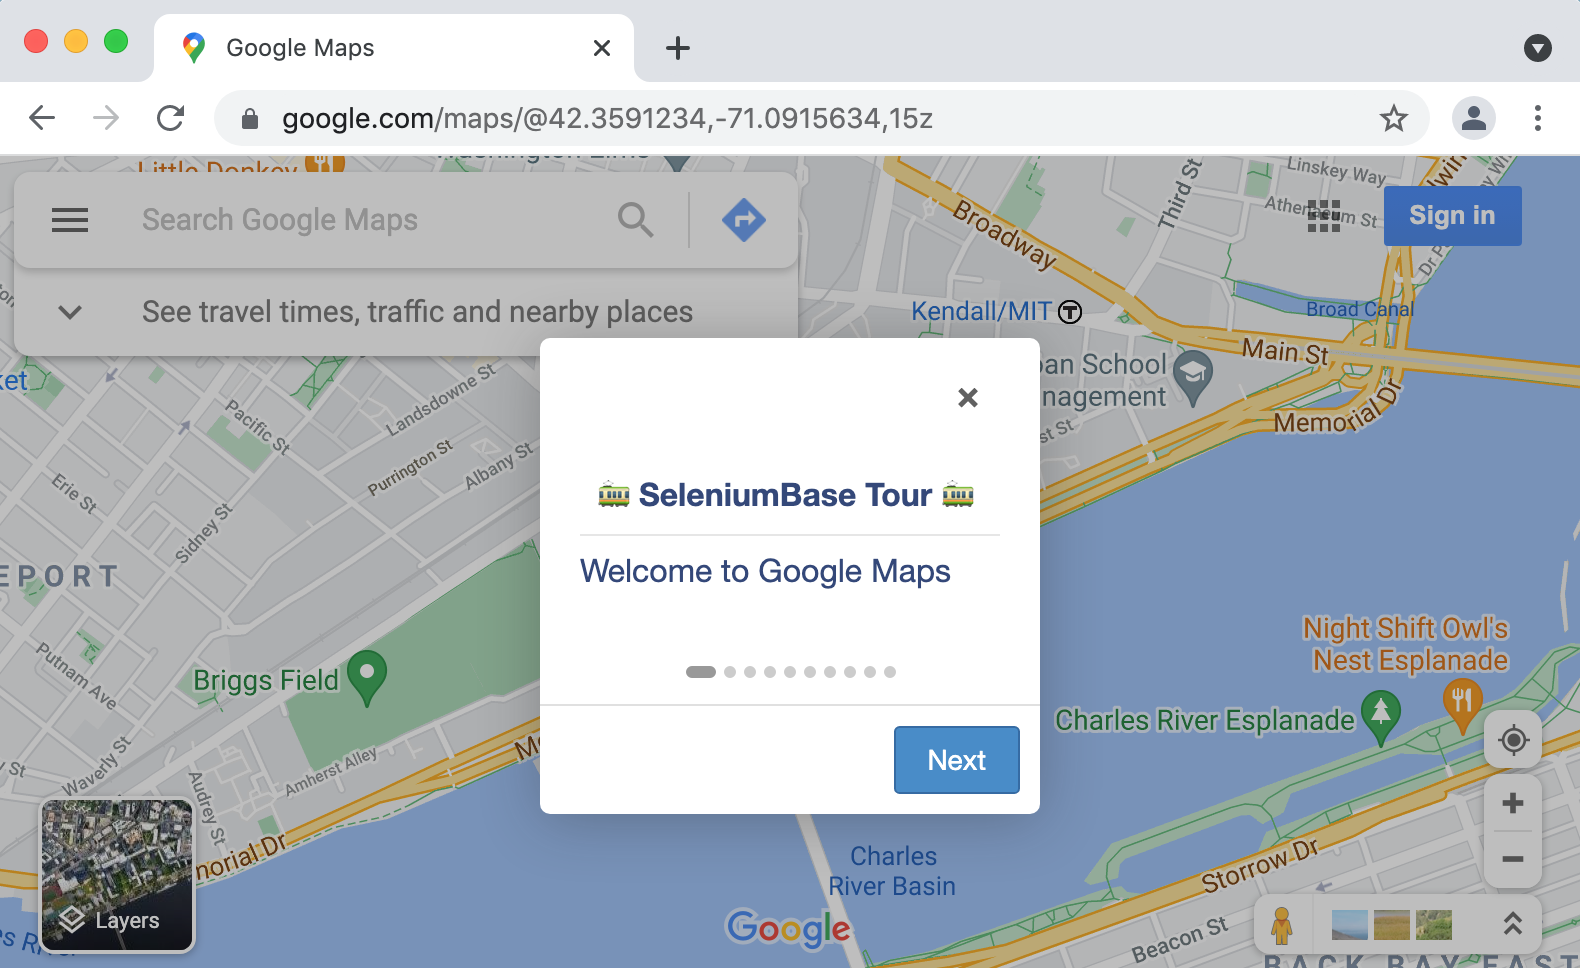
A tour demo: (with autoplay)

SeleniumBase maps_introjs_tour.py
cd examples/tour_examples
pytest maps_introjs_tour.py --interval=1
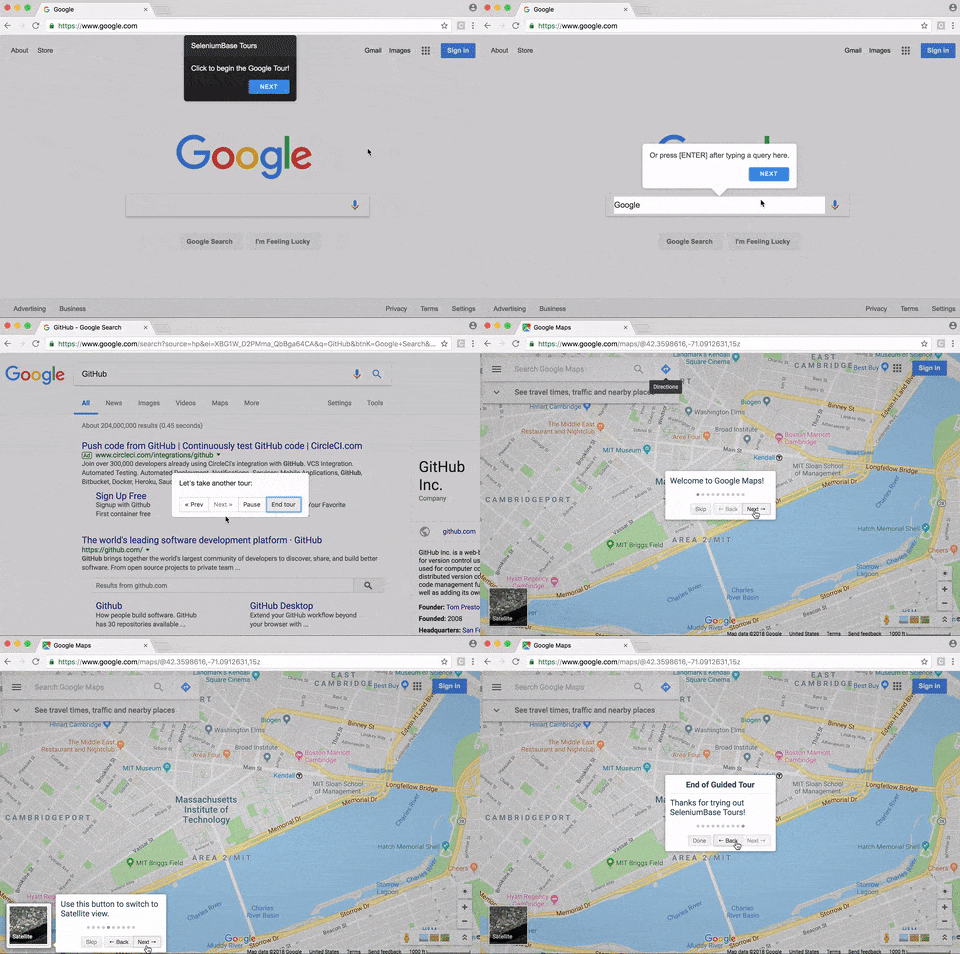
Here’s a longer version:

cd examples/tour_examples
pytest google_tour.py
Creating a new tour:
To create a tour utilizing the Shepherd Library, use one of the following:
self.create_shepherd_tour()
OR
self.create_tour(theme="shepherd")
You can pass a custom theme to change the look & feel of Shepherd tours. Valid themes for Shepherd Tours are dark, light / arrows, default, square, and square-dark.
To create a tour utilizing the Bootstrap Tour Library, use one of the following:
self.create_bootstrap_tour()
OR
self.create_tour(theme="bootstrap")
To create a tour utilizing the IntroJS Library, use one of the following:
self.create_introjs_tour()
OR
self.create_tour(theme="introjs")
To create a tour utilizing the DriverJS Library, use one of the following:
self.create_driverjs_tour()
OR
self.create_tour(theme="driverjs")
To create a tour utilizing the Hopscotch Library, use one of the following:
self.create_hopscotch_tour()
OR
self.create_tour(theme="hopscotch")
Adding a step to a tour:
To add a tour step, use the following:
self.add_tour_step(message, css_selector, title, alignment, theme)
With the
self.add_tour_step()method, you must first pass a message to display. You can then specify a web element to attach to (by using CSS selectors). If no element is specified, the tour step will tether to the top of the screen by default. You can also add an optional title above the message to display with the tour step, as well as change the theme for that step (Shepherd tours only), and even specify the alignment (which is the side of the element that you want the tour message to tether to).
Playing a tour:
You can play a tour by calling:
self.play_tour(interval)
If you specify an
interval(optional), the tour will automatically walk through each step after that many seconds have passed.
All methods have the optional name argument, which is only needed if you’re creating multiple tours at once. Then, when you’re adding a step or playing a tour, SeleniumBase knows which tour you’re referring too. You can avoid using the name arg for multiple tours if you play a tour before creating a new one.
Here’s how the code looks:
from seleniumbase import BaseCase
BaseCase.main(__name__, __file__, "--uc")

class MyTourClass(BaseCase):

    def test_google_tour(self):
        if not self.undetectable:
            self.get_new_driver(undetectable=True)
        self.open('https://google.com/ncr')
        self.wait_for_element('input[title="Search"]')
        self.hide_elements("iframe")

        self.create_tour(theme="dark")
        self.add_tour_step("Welcome to Google!", title="SeleniumBase Tours")
        self.add_tour_step("Type in your query here.", '[title="Search"]')
        self.play_tour()

        self.highlight_type('input[title="Search"]', "Google")
        self.wait_for_element('[role="listbox"]')  # Wait for autocomplete

        self.create_tour(theme="light")
        self.add_tour_step("Then click to search.", '[value="Google Search"]')
        self.add_tour_step("Or press [ENTER] after entry.", '[title="Search"]')
        self.play_tour()
That code is from google_tour.py, which you can run from the tour_examples/ folder with the following command:
pytest google_tour.py
Exporting a Tour:
If you want to save the tour you created as a JavaScript file, use:
self.export_tour()
OR
self.export_tour(name=None, filename="my_tour.js")
(
nameis optional unless you gave custom names to your tours when you created them.filenameis the name of the file to save the JavaScript to.) Once you’ve exported your tour, you can use it outside of SeleniumBase. You can even copy the tour’s JavaScript code to the Console of your web browser to play the tour from there (you need to be on the correct web page for it to work).


